
Started on 2/28/16
*****************************
This approach Wooden Boat Ice Box Article
Bill of material Spreadsheet
*****************************
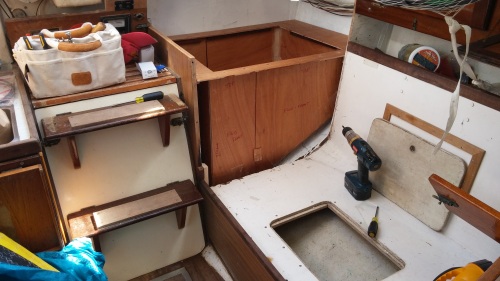
Demo almost complete. Need a new blade for the dremel, and I can get the tabbing off close to the hull.
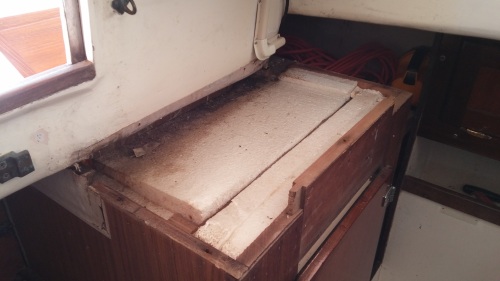
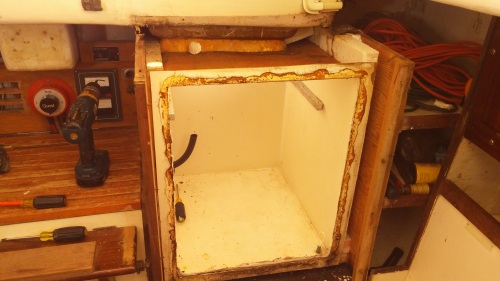
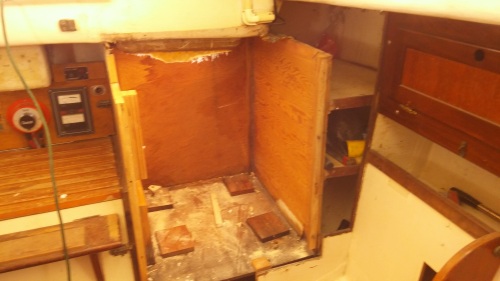
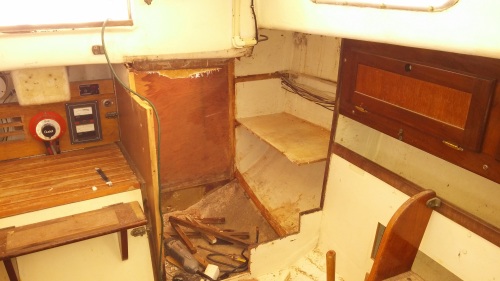
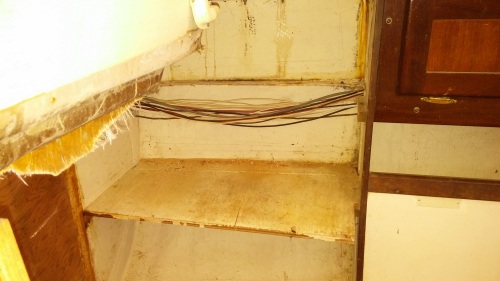
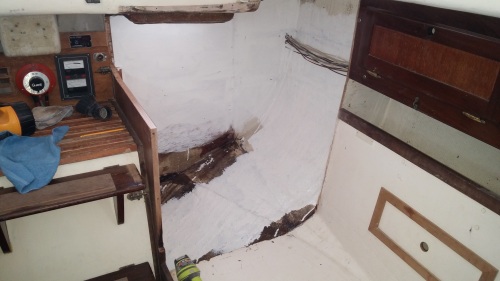
3/6/16 Demo Complete
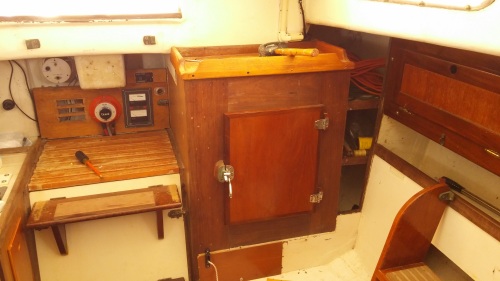
The fiberglass is mostly cleaned up. I put a coat of paint on – although just realized that the cleats on the hull side will need to be on bare glass – doh. The bits that are not painted are the bits where I retabbed – the resin was still wet. The bulkheads were not completely tabbed on the inside, so any water running down the hull (from the toe rail) could get to the bottom of the plywood. What I did put a stop to that. Now interestingly when it all gets back together, I will have a hard time tabbing the new bulkhead at the foot of the bunk on the icebox side. I think that the challenge is that the icebox needs to be in before that bulkhead goes in which will make it hard to reach the hull – what to do? what to do? I have some thoughts more to follow. Maybe find a friend with long arms? (small hands though)
By the way I burnt out the Dremel oscillating saw, and got a DeWalt – wow no comparison. The Dewalt has a more powerful motor which is really noticeable.
I only had to use the grinder a bit – what a mess. Fortunately with the oscillating saw, I cut it pretty close. I can hold the saw with the vacuum hose in the same hand which keeps the mess down.
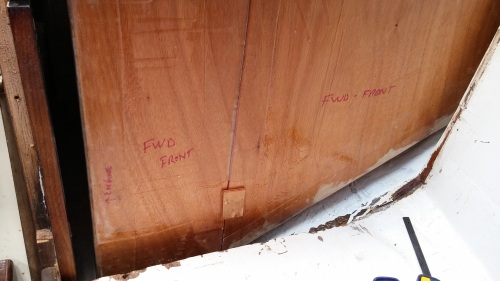
3/12/16 Finalized Templates and measured for the icebox. I also created the Bill of Material and Order of Operations.
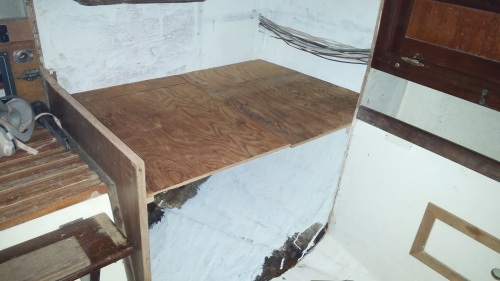
The template was easier to do in two pieces – easier to scribe the hull curve that way, and then expanded with a spacer in the middle. Although there was only one kerf width of space. Pretty chuffed with myself 🙂

The inboard end had to be scribed to get the curve, and the forward and aft ends notched to accommodate the tabbing on the hull.
The foot of the bunk will be tabbed to the bunk and the hull – which is the way it was when I removed it.
The side on the inboard end will be trimmed down later, as will the foot of the bunk. I am thinking of leaving a lip, and perhaps putting a handle there or a step.
The measurements are from the top of the board down to the hull. I will need to remove 2″ from the measurement to put the box 1.5″ above the hull.
As of 5/21/16
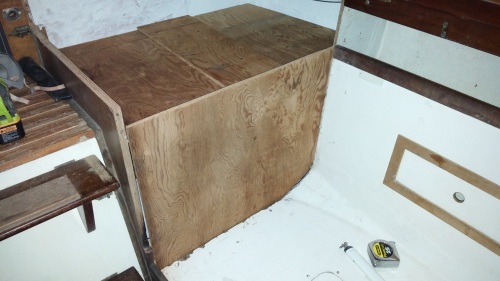
At this stage after a little drama, the box is in the boat. It fits perfectly. However, it had to be cut in half in order to fit. This made construction harder. Pics and notes are below.


The above show the Box on the template. It was critical that it remain on the template until everything was fully cured. Epoxy shifts even when it appears dry. My first try had to be disassembled as it shifted and then dried out of true. Note that this does not fit into the boat assembled. The box is cut in half (where the blue clamp is). More on that later. Also note that the bump in the shape (first picture far side) is a mistake. Not sure what happened there. I simply ran a straight line from the two side to smooth it out.
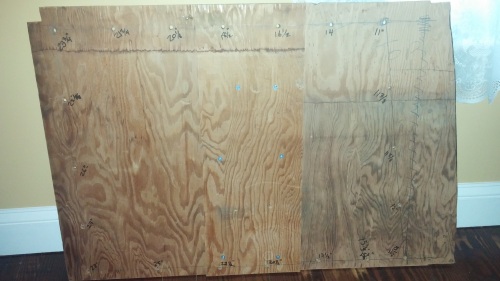
This is what the pieces look like prior to assembly
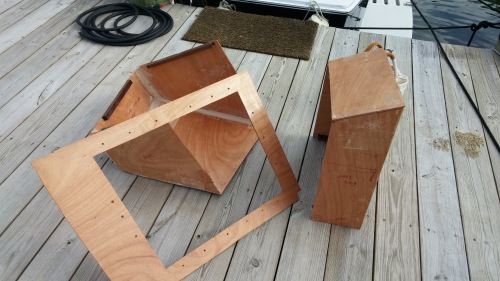
And this is what they look like after assembly.
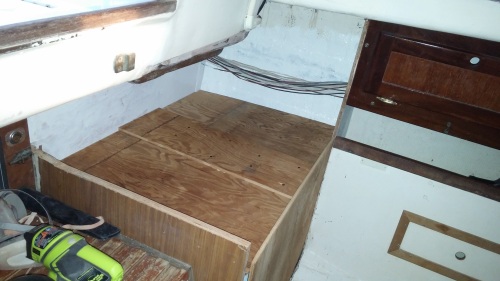
Prior to putting in, I put the cleats in to attach the front side, and the trim when I get there.
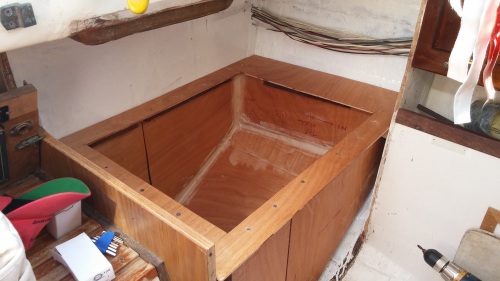
The seam on the after end was closed up after I put in the zip tie to pull it all together.
This is about as big a box as you can get in there. I have not figured out the drain yet. I may install a small hand pump rather than drill a hole through the bottom. We shall see.
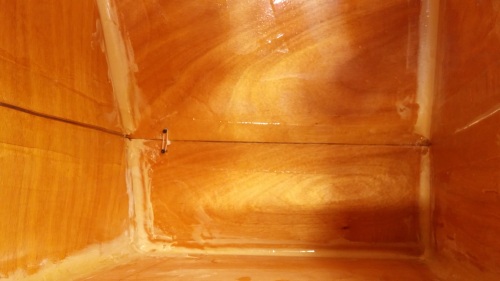
In this picture, you can see the fiberglass tape on each side along the seam. I have not done the corners yet, and the two screws with the zip ties to hold it all together while it dried are obviously going to come out. The seam was pretty good except for that aft side, but nothing epoxy and fiberglass will not fit.
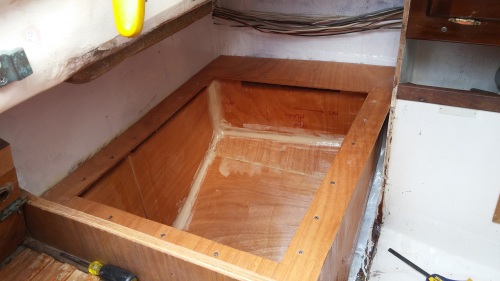
This is all 1/4 in ply. It was rather floppy when it went in and I was a bit worried. However, once it was all in a screwed and glued it is very stiff, and seem strong. The top will have 1/2 ply added, and the front will be covered with 1/2 ply. This will reinforce things further.
Next steps are to finish the inside, and then get the foam in.
07/17/16 Update – Just getting these in as a placeholder. I installed the 3″ of foam, and then the interior lining with one layer of fiberglass cloth.


When using the anchor as a weight, the CQR is preferred.
Other thoughts for refining later
- The expanding foam is good but messy – very easy to cause a bowing out of the insulation of you are not careful – really only impacts getting the internal skin to sit flat – you can hardly see it otherwise.
- Leave whole top off, so you can work on the lid and hatch in the comfort of your home / shop rather than upside down on a 100 / 37 degree day.
- West 610 glue instead of / in addition to the epoxy approach defined in the article.
Next step cutting hole in hatch and building lid.

Looking good. Do you have one of those oscillating tools? they work great for cutting out tabbing. With the flush cut blades you can often get between the tabbed glass and the hull. And they produce less dust than a grinder.
I love the oscillating tool:)
Thanks for the photos. Looking fwd to seeing the finished results!
We did the same on #104! Opens the cabin up quite a bit and much less ice consumption on a hot day.
I added a small Isotherm air cooled refrigeration unit this year, which gets ride of the ice entirely!
Andrew – what unit did you use? was it hard to put it?
I used a Indel Webasto ( used to be isothem) 2501 12V air cooled compressor with box shaped evaporator. We picked it up at the Annapolis boat show last fall for around $700.
I mounted the compressor / condenser unit in the port cockpit locker and the evaporator on forward wall of the icebox. Took about 2 hours to install.
It works very well, keeps the “icebox” cold and the inside of the evaporator creates a small freezer section. Which will keep frozen goods frozen, but takes a while to freeze thawed items.
I keep the unit on all the time during the season. It draws around 2 amps on average.
https://www.indelwebastomarine.com/us/products/marine-refrigeration-systems/compact-marine-refrigeration-systems/compact-air-cooled-refrigeration-systems/